February 11, 2020
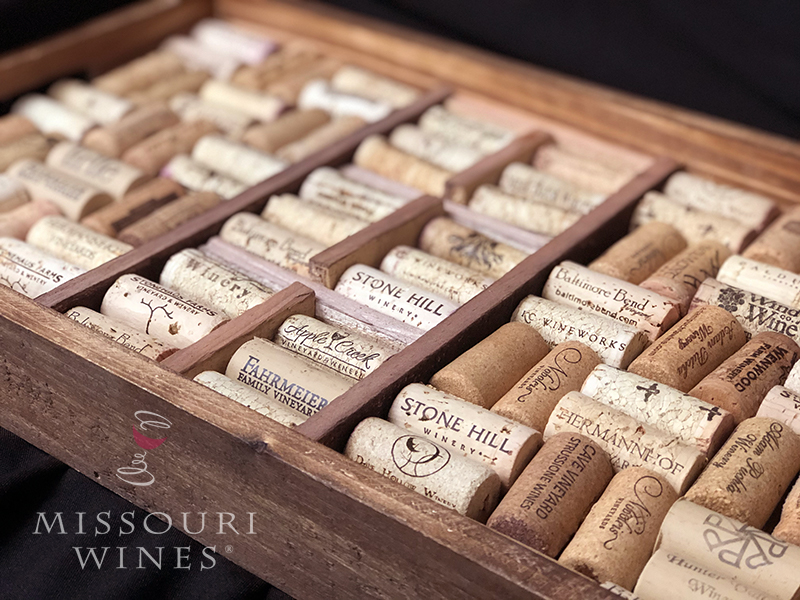
 After you’ve enjoyed your favorite Missouri wine, think twice before throwing away the corks. Warm up the hot glue gun and transform your extensive collection into a lasting memory. While there are a plethora of craft ideas online, here’s one way to turn an ordinary serving tray into a centerpiece.
What you will need:
Hot glue gun
Wine corks (We used 84 intact corks, but you can cut your corks in half if you have less on hand.)
Knife (serrated works best)
A tray (We featured a 16.73 x 10.83 x 1.93 in. tray.)
Optional: thin wood pieces to fill in gaps
Step 1: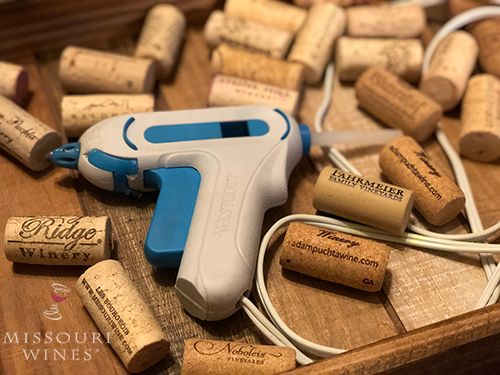
Before plugging in the glue gun lay out the corks on your tray. Consider placing the corks in a pattern, vertical and horizontal, to give your tray a more visually appealing look. (There are a variety of designs online.) Depending on the depth of your tray and the number of wine corks in your collection, slicing the corks in ½ may be an option. If you go this route, a serrated knife tends to work better than a smooth one, but please be careful! Corks are not easy to slice through and you could cut yourself.
Step 2:
Warm up the glue gun and glue down the corks. Corks may vary in size and width so no matter how you strategically place them on your tray, you may end up with gaps. Consider trimming a few of the corks or wedge thin pieces of wood into the open spaces to keep your tray more compact.