
September 19, 2023
When it comes to crafting, corks seem to get all the hype, but what if your favorite Missouri wine has a screw top? Don’t toss those metal caps in the trash just yet, because there are many creative ways to use them as well. One of our favorite screw cap projects is a bottlecap serving tray, which is a beautiful way to showcase some of your favorite Missouri wines while entertaining friends and family. 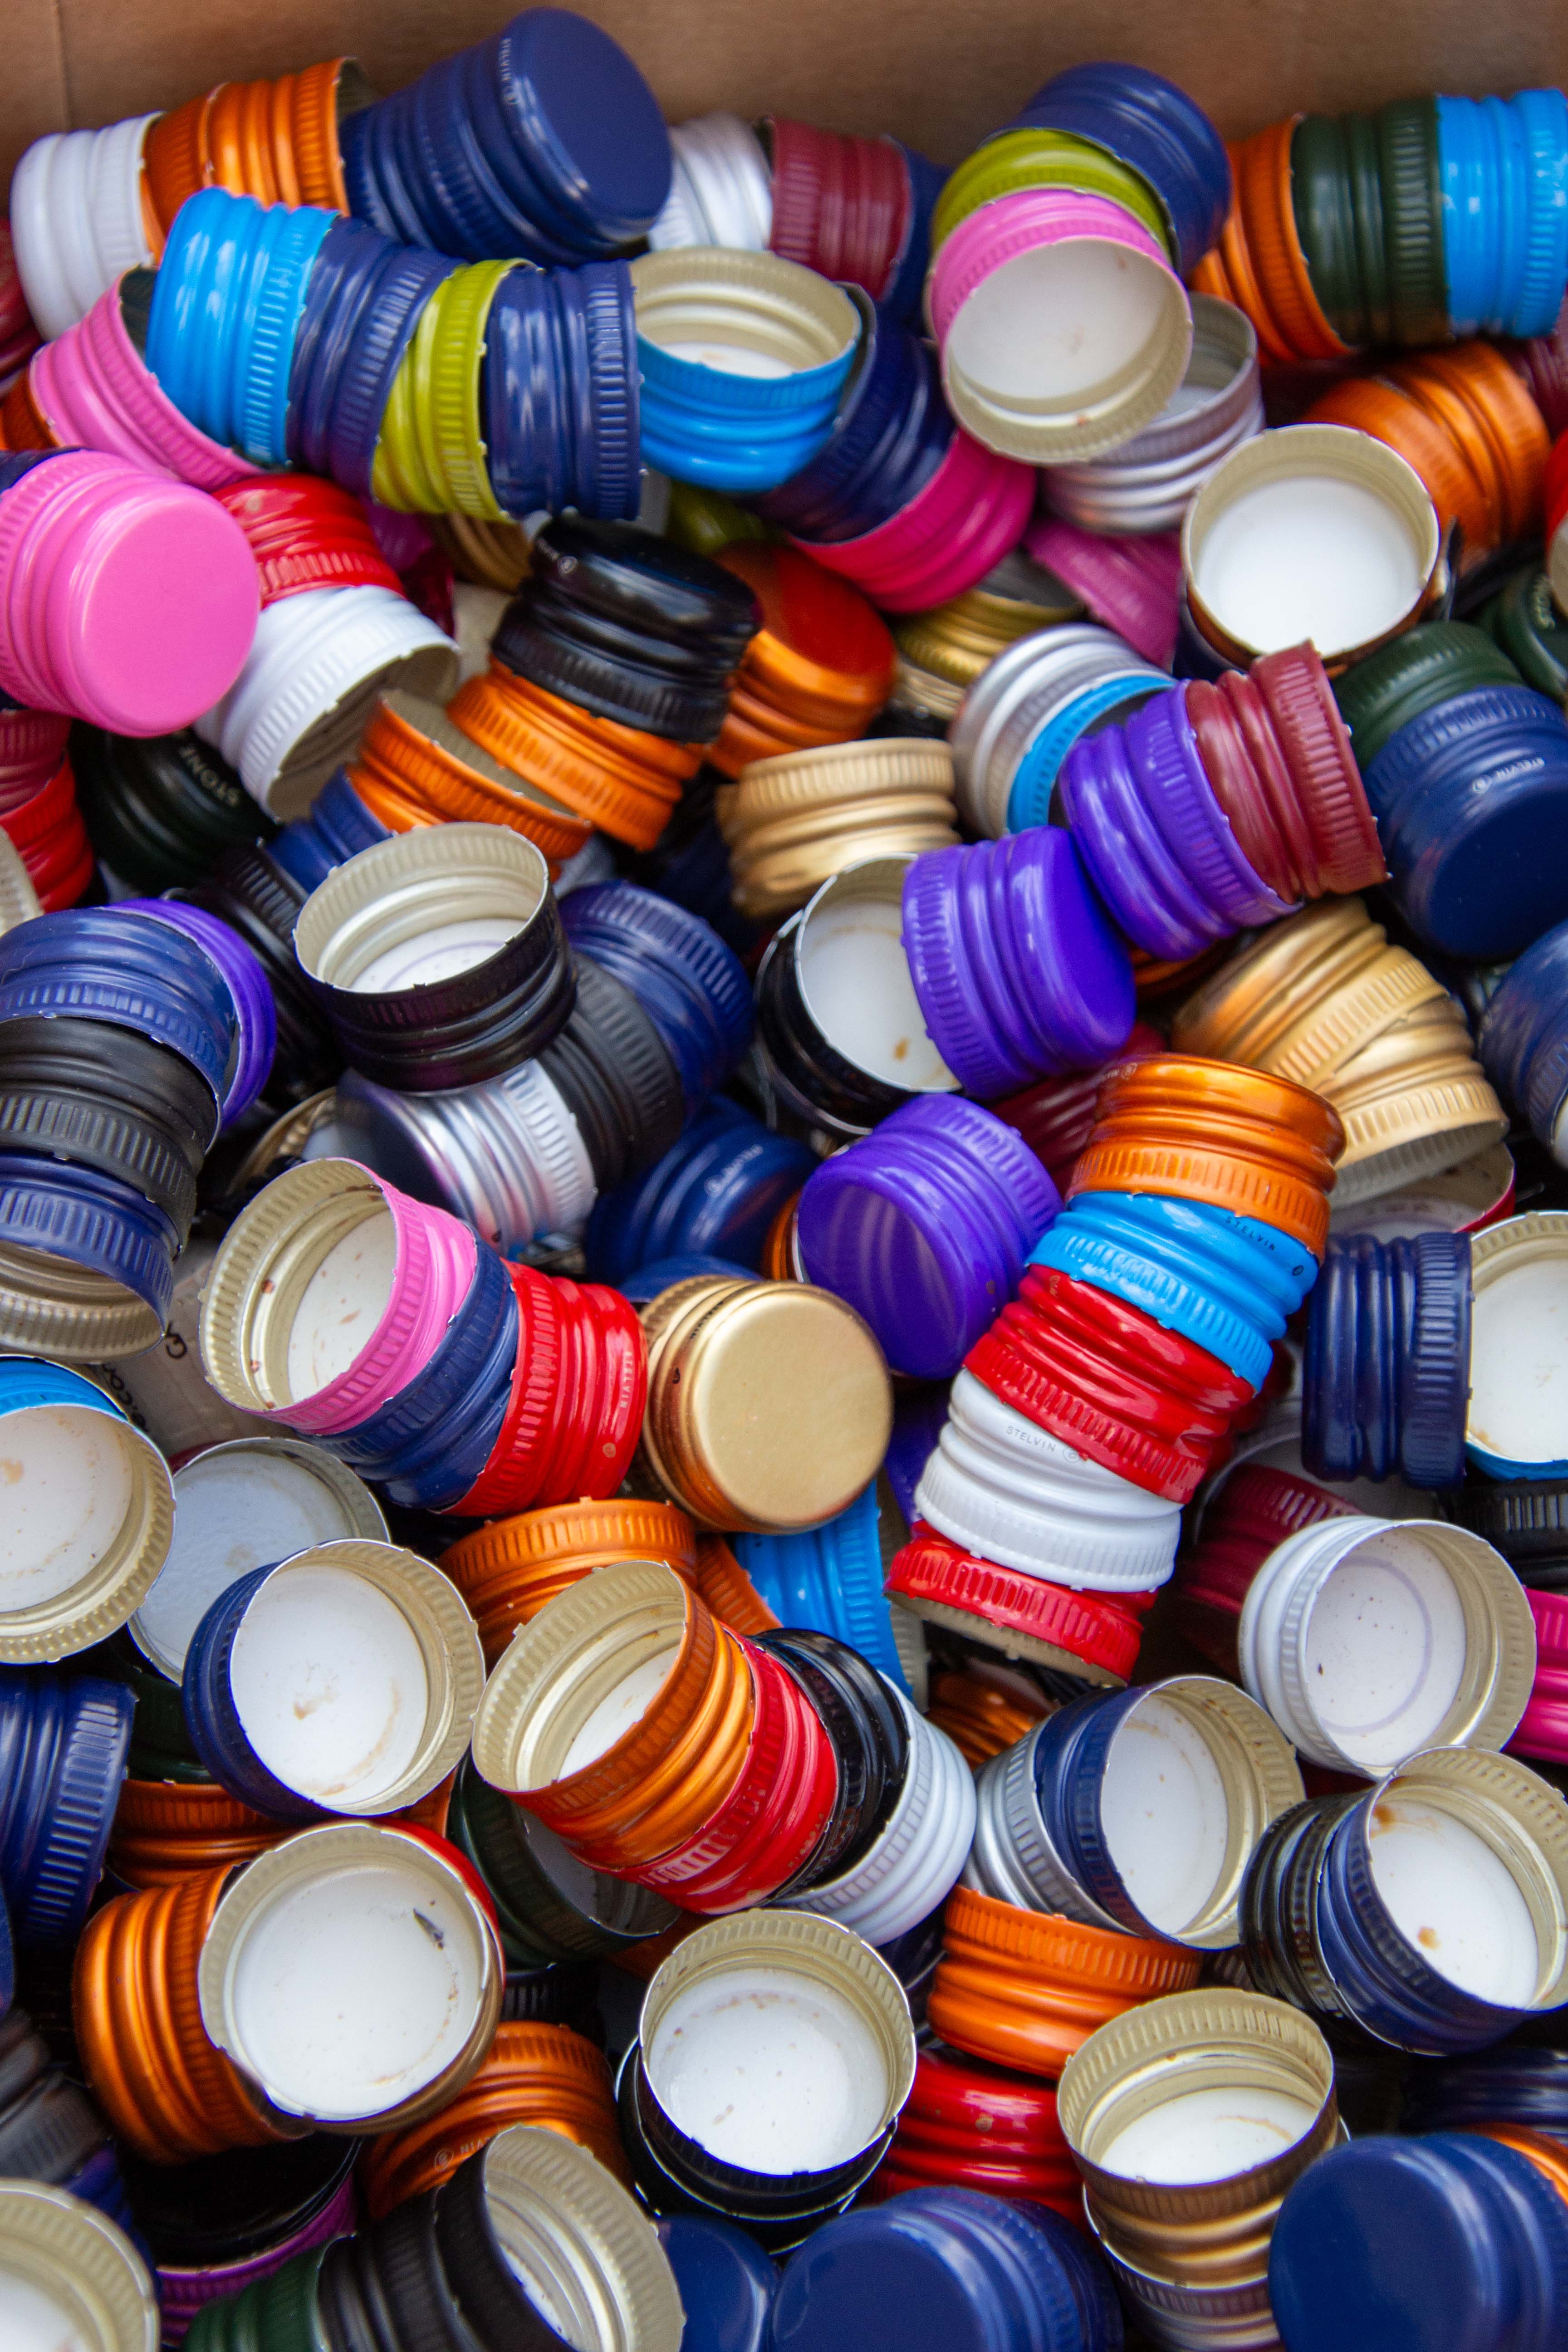
WHAT YOU WILL NEED
- Several old screw-top wine bottlecaps (we used 99)
- A wooden serving tray at least 1 inch deep (ours was 16-by-12-inch)
- 16 ounces of resin (more if using a bigger tray)
- A rolling pin or rubber mallet
- A hot-glue gun and extra glue sticks
- Disposable tablecloth or old newspapers
- Cling wrap
- Heat gun or torch
STEP-BY-STEP
Step 1: After selecting your wooden tray (and finishing or painting it if you so desire), carefully arrange the bottle caps in the bottom. You can randomly place the caps for a fun and cheerful look, create a repeating pattern or even make a mosaic-like design, such as grapes.
Step 2: Once you have selected and arranged your chosen caps, you must carefully flatten each one. The resin dries best when it is about an 1/8-inch thick, so leaving the caps at their full height can create curing problems with your project. We found it relatively easy to either roll the caps flat with a sturdy rolling pin or simply squash them flat with a rubber mallet. Of course, be conscientious of the surface you’re flattening the caps on and put down a town, cutting board or other protection if needed.
 Step 3: Place the now flattened caps back in your tray to check the fit once more. While the flat caps do not take up too much more room, they may somewhat shift your design.
Step 4: Once you’re satisfied with the design of the flattened caps, carefully hot glue them to the tray one by one until they are all securely fastened. While this step may seem tedious, it is necessary. Failing to attach the caps before pouring your resin may result in the design shifting during the next step.
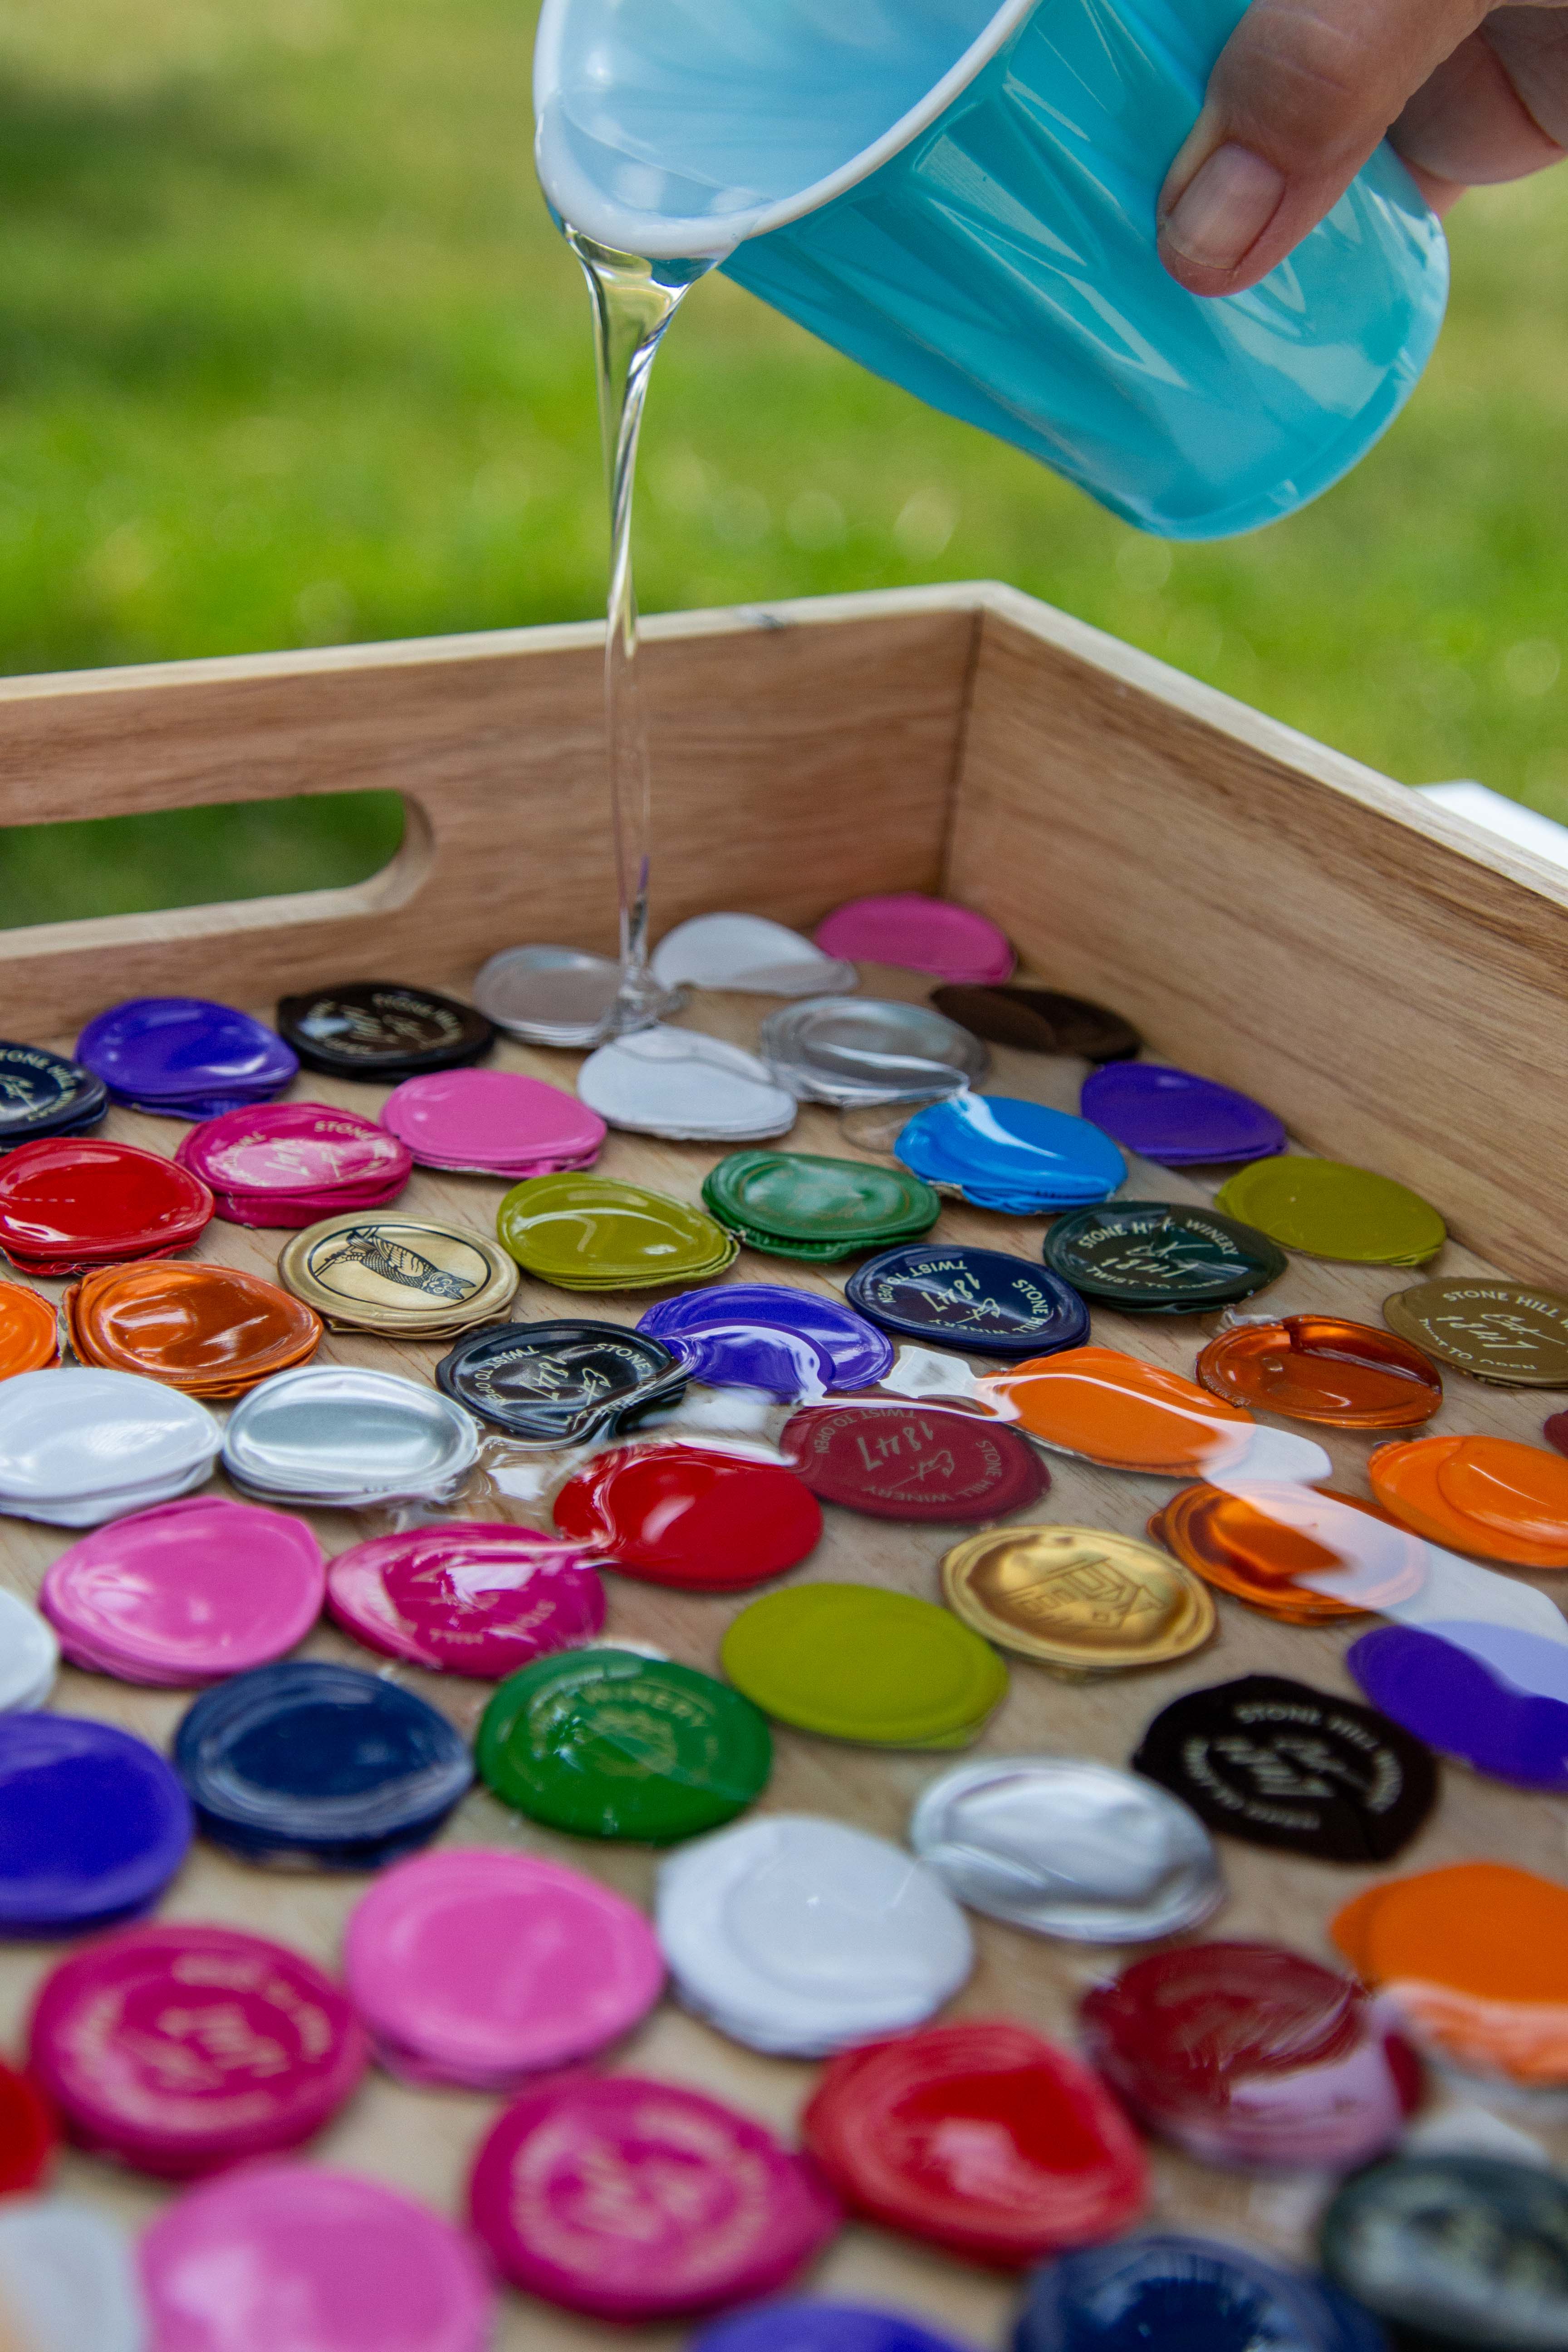
Step 5: Carefully mix the resin according to the instructions and follow any safety precautions suggested. Place your tray onto an old newspaper or a disposable tablecloth, and slowly pour the prepared resin over the bottom of the tray. Spread out the resin using a disposable utensil or a large popsicle stick before carefully applying a heat gun to any bubbles.
Step 6: Cover the top of the tray with cling wrap to ensure no dust, debris, etc., sticks to the resin as it cures.
 Step 7: Let the resin cure for 24 hours or as instructed on the package.
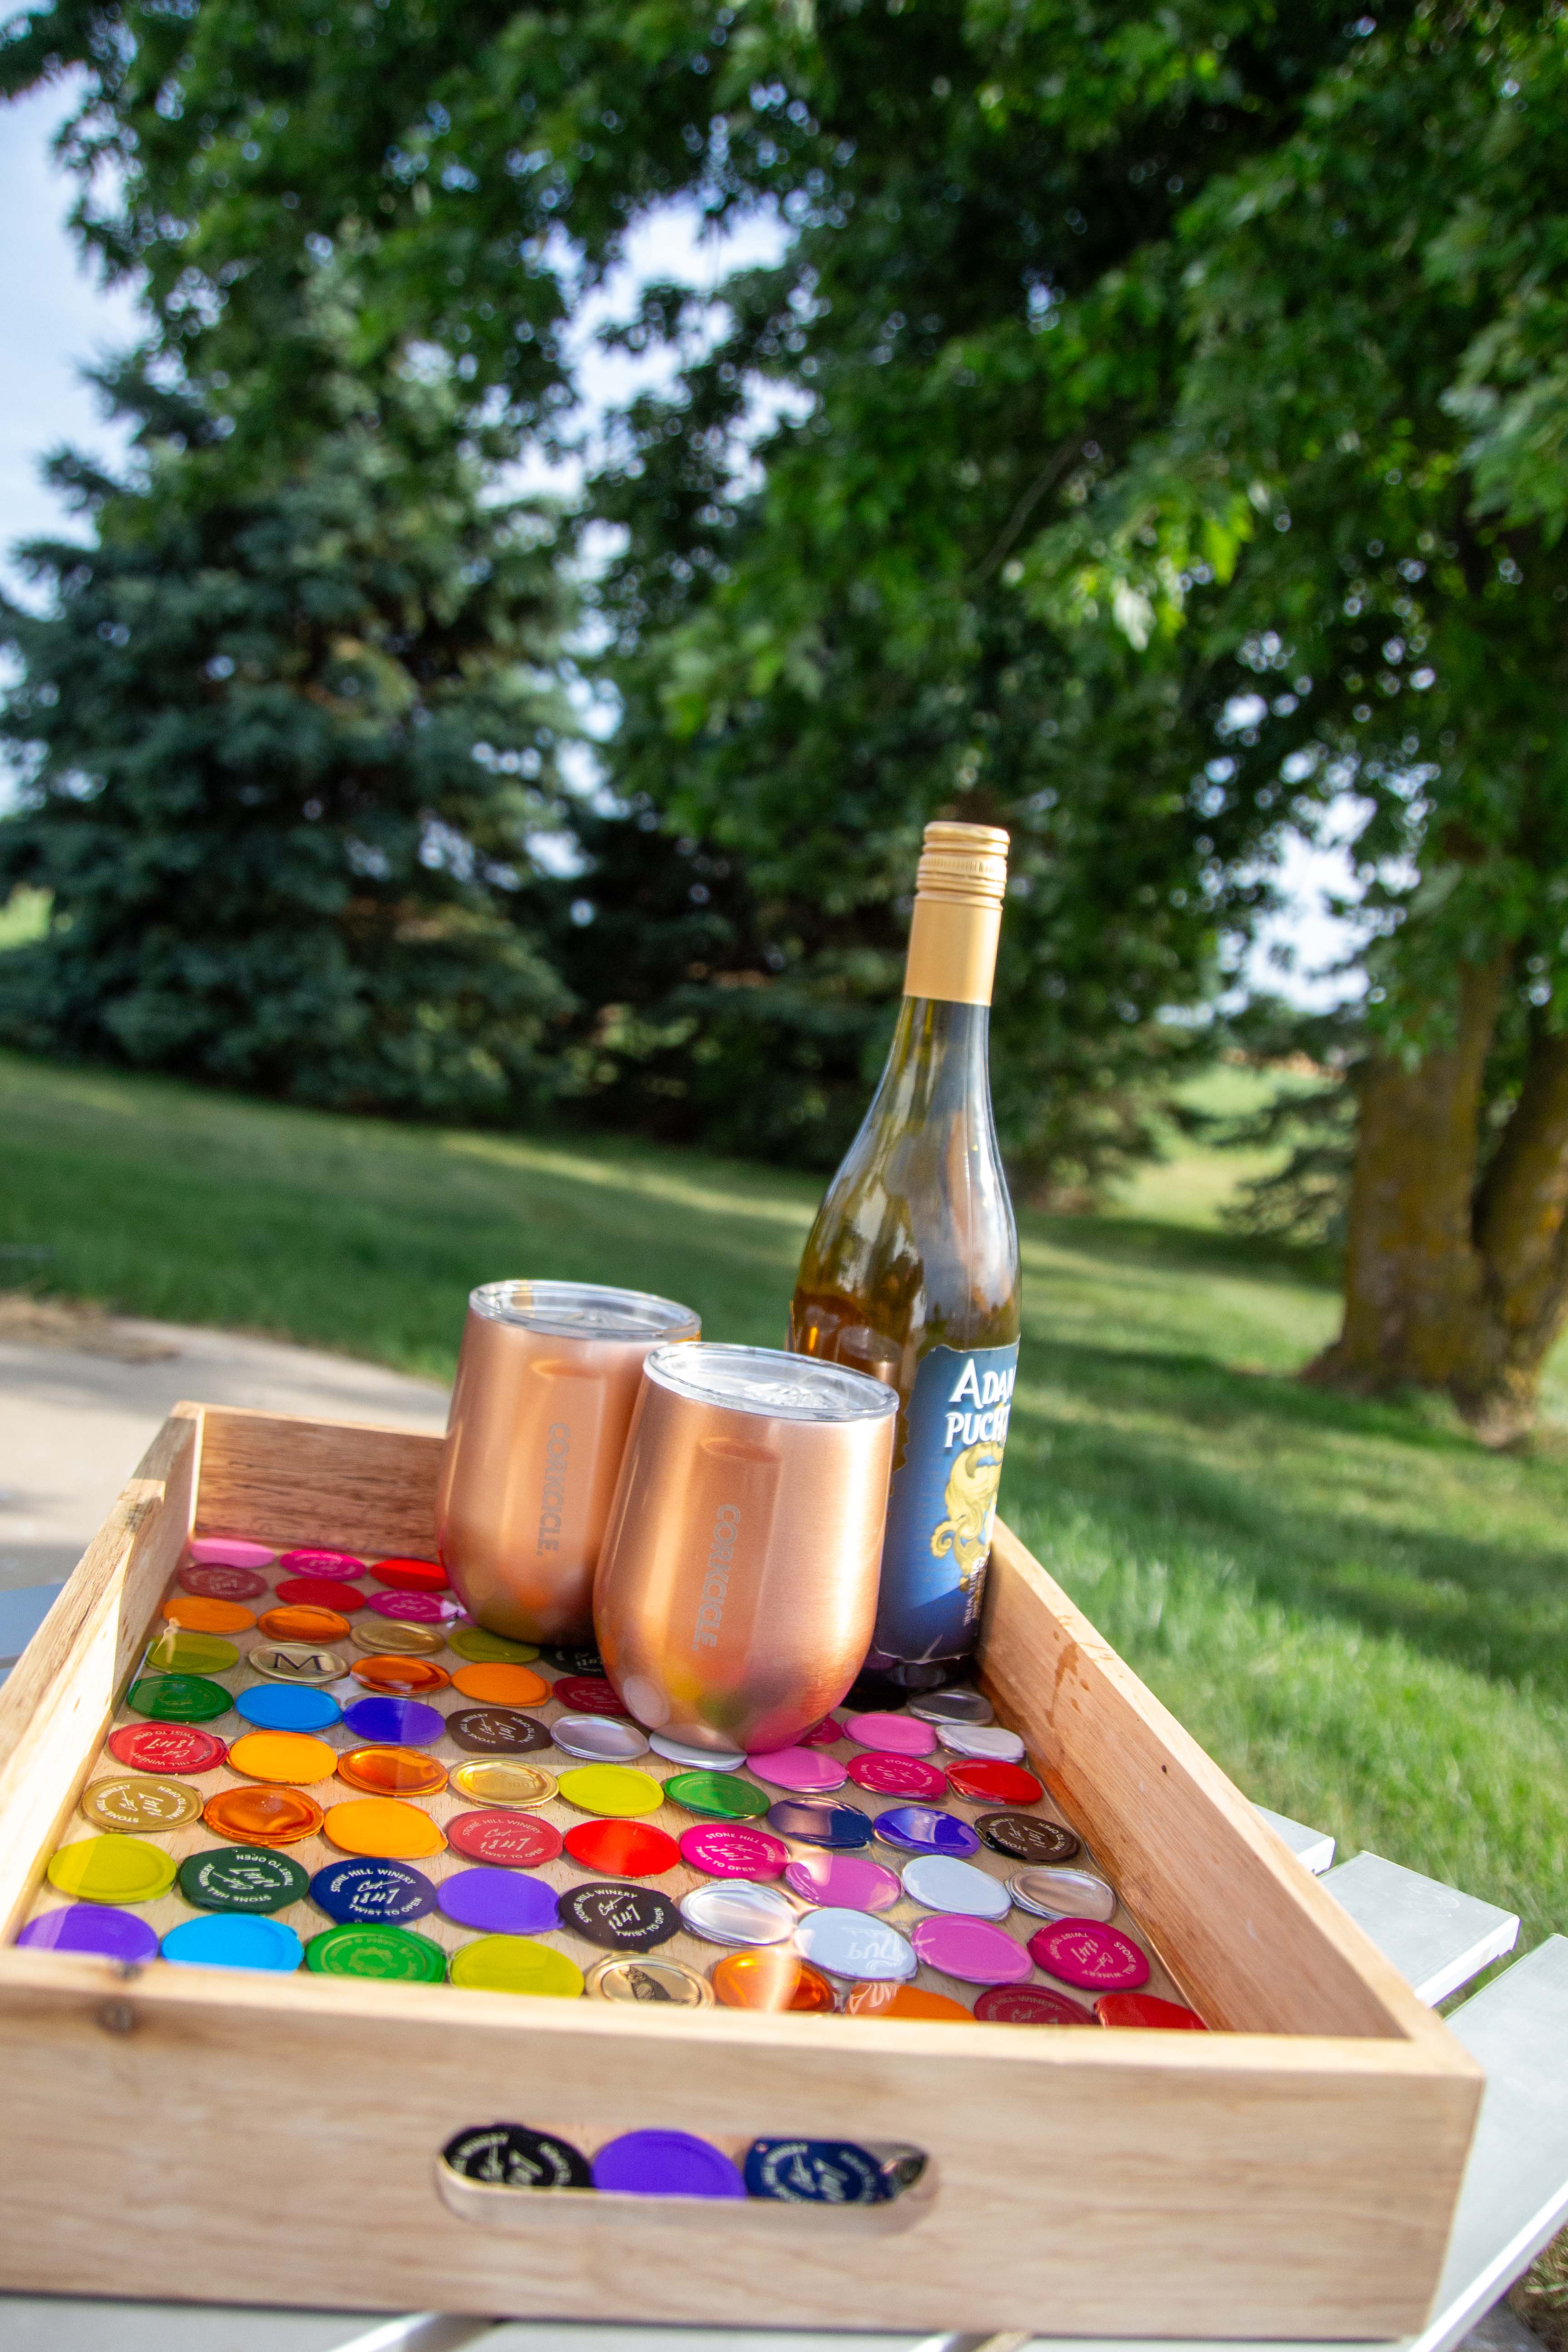
Step 8: Use your new tray to carry your favorite Missouri wine, glasses and snacks the next time you entertain.
Share your DI-wine with us on social media by tagging #missouriwine and @missouriwine, and let us know how you up-cycle your screw-top wine bottle caps.