October 12, 2017
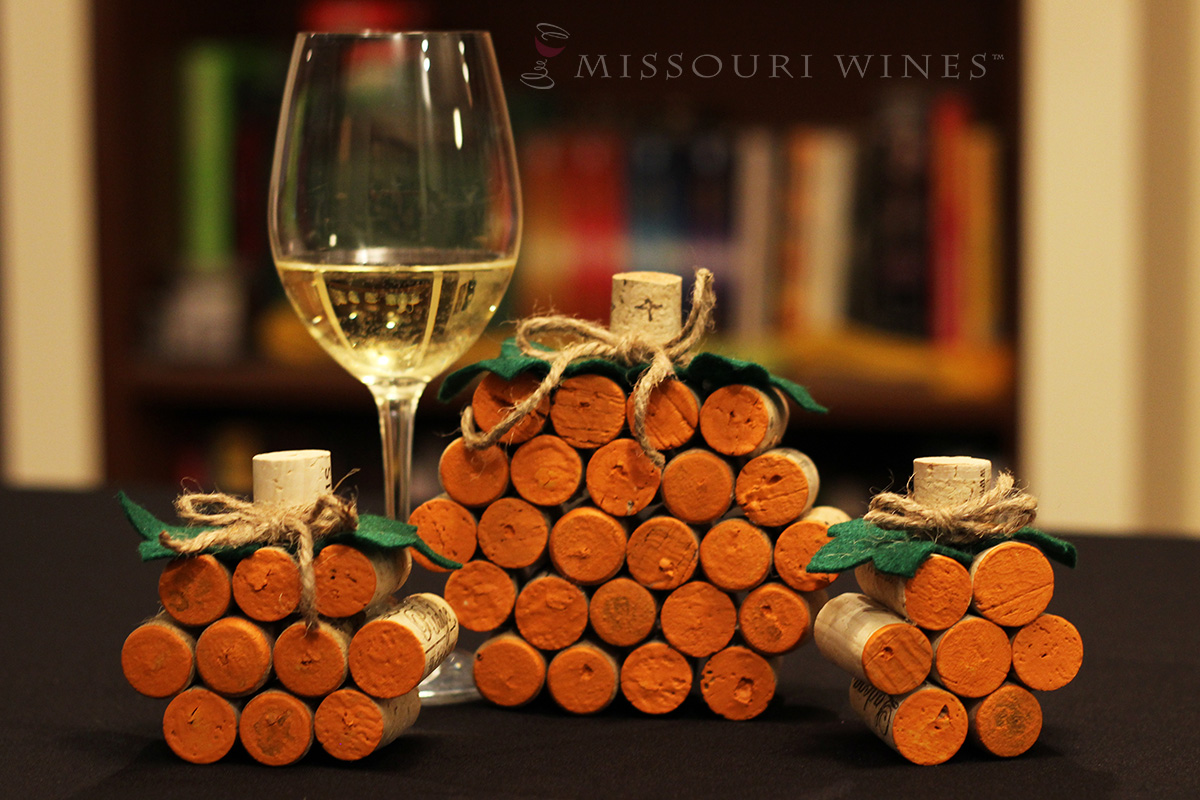
Fall is here and it’s time to celebrate! This set of three cork pumpkins is a fun and easy craft that will add some fall festivity to your home or office. Everything you need to know to create this adorable décor is below.
What you’ll need:
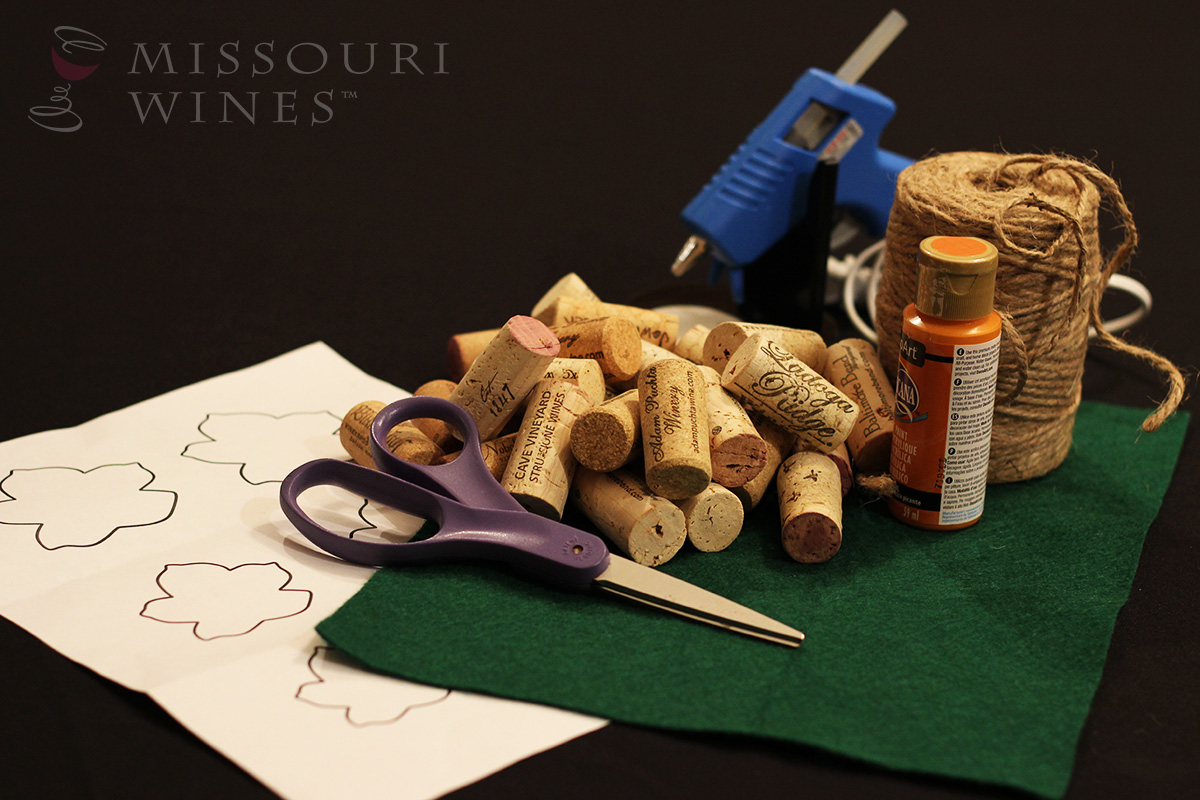
43 Missouri wine corks (Natural cork works better than synthetic for this particular project.)
Orange acrylic paint (Painting is optional. If you prefer the natural cork look, that’s fine.)
Paint brush (Putting the paint on a paper plate and dabbing the end of the cork in it will work in a pinch if you don’t have a paint brush handy.)
Glue (Hot glue works well, but if you prefer, you can use another strong adhesive such as E6000.)
Green felt
Scissors
Craft knife or box cutter
Twine or festive fall ribbon
Instructions:
- Paint the corks: Dilute about a quarter size amount of paint with a few drops of water and mix. Paint all but two of your corks. You can paint one or both ends of the corks depending on where you plan to display your pumpkins. If painting both sides you can do both at the same time by holding the middle of cork while painting and laying the painted corks down on their sides to dry.

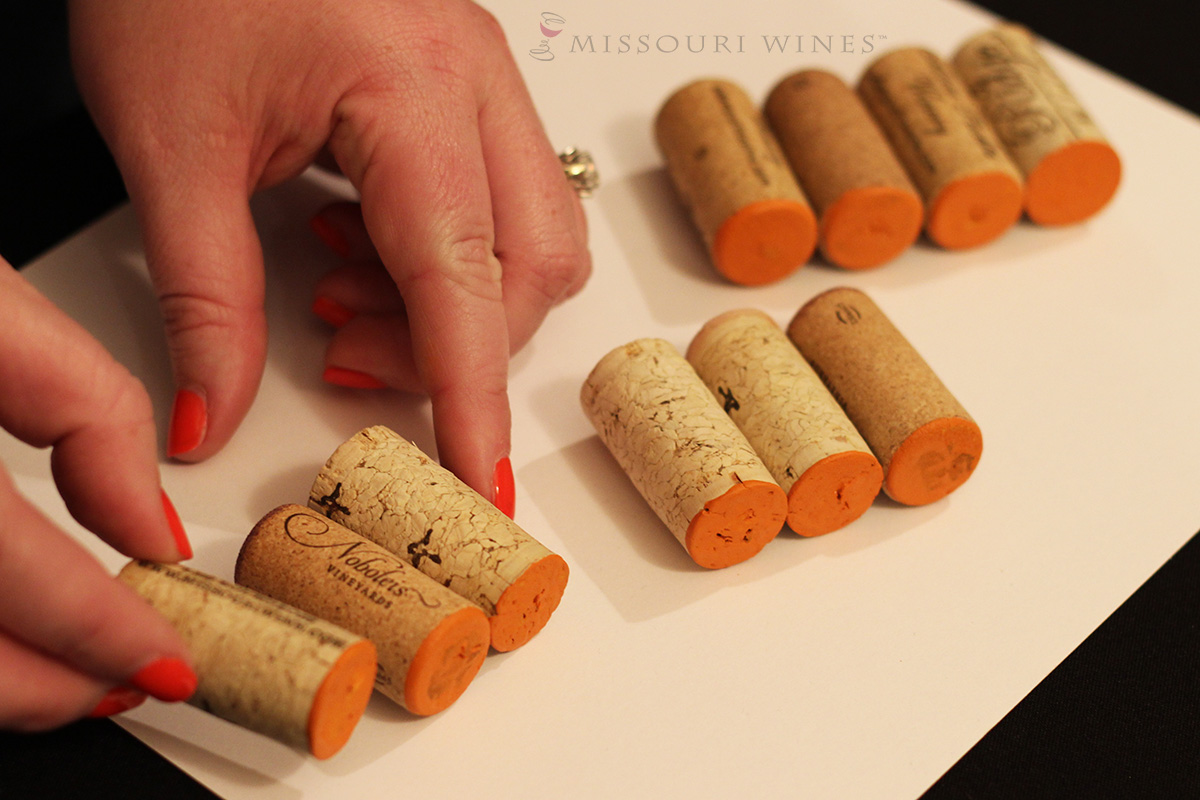
- Arrange the corks for your pumpkins. Now is also when you’ll want to plug in and prep your hot glue gun if that is your adhesive of choice.
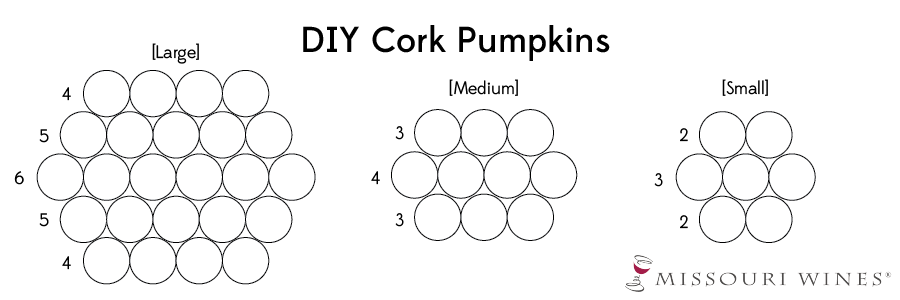
- Large Pumpkin: (from bottom to top) row of 4, row of 5, row of 6, row of 5, row of 4
- For a more streamlined looking pumpkin, match the length of the corks in each row.
- Large Pumpkin: (from bottom to top) row of 4, row of 5, row of 6, row of 5, row of 4
-
- Medium Pumpkin: (from bottom to top) row of 3, row of 4, row of 3,
- Small Pumpkin: (from bottom to top) row of 2, row of 3, row of 2
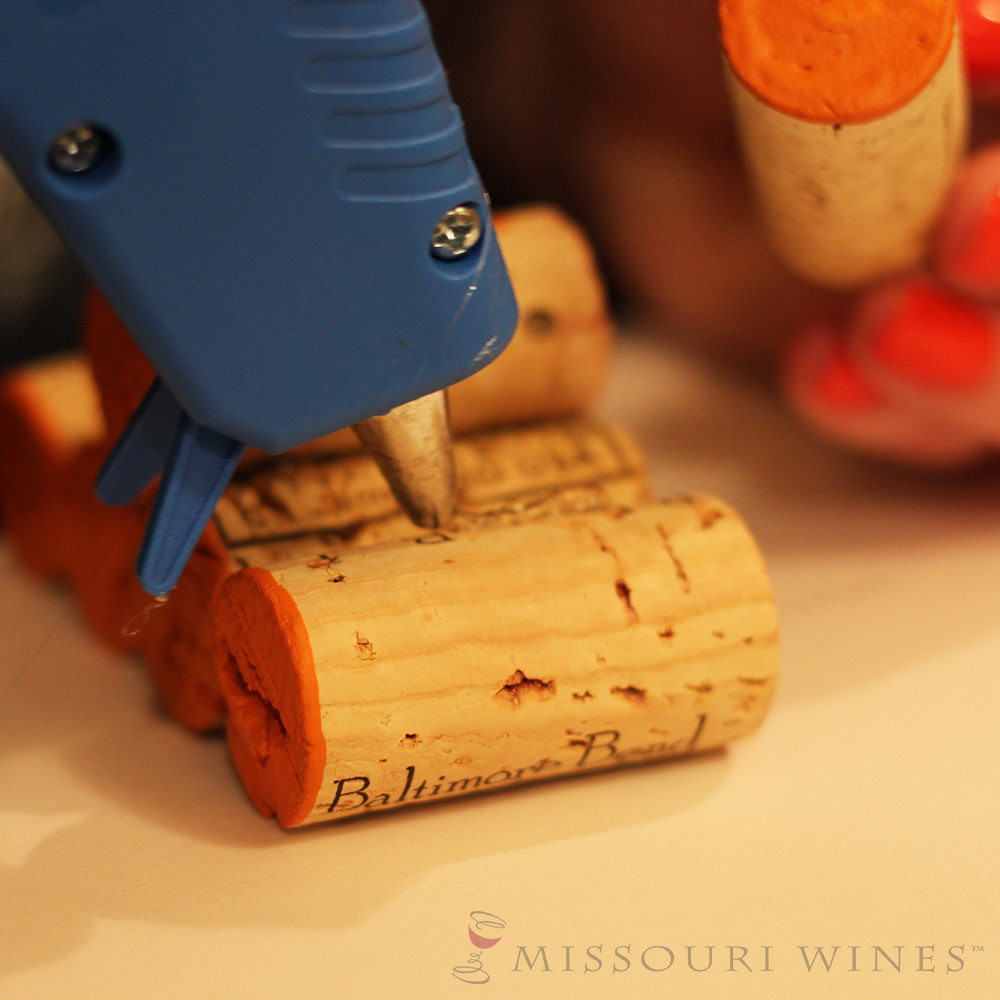
- Assemble the body of your pumpkins. Glue the sides of the first row of corks together. Glue the next row of corks to their neighbors, both below and beside. Continue for all painted corks
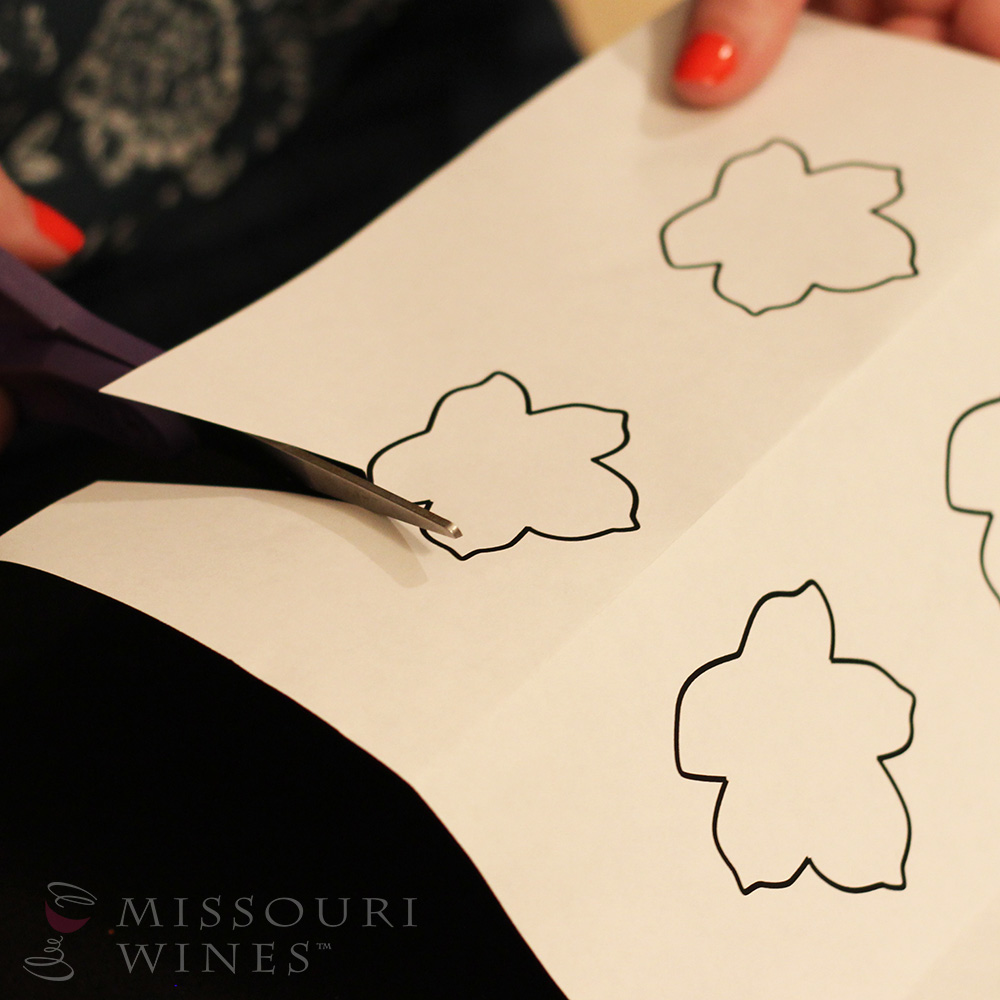
- Create and attach the leaves. Print this template and cut out the leaves to use as your guide for cutting out the leaves for each pumpkin. Trace the cutouts on the felt or pin them to the felt with straight pins and cut out your leaves. Glue the leaves onto the top center of the corresponding pumpkins.
- Make and attach the stems. Carefully cut off a third of one of the corks you left unpainted. Glue the longer piece on top of the leaves on the large pumpkin and the smaller piece on the small pumpkin. Cut the last remaining cork in half and glue one piece onto the center top of the medium pumpkin. You will have half of one cork leftover.
- Tip: Hold the cork with a binder clip to avoid any slippage.

- Add the finishing touch. Tie the ribbon or twine in a bow around the stem.

Wherever you plan to display your cork pumpkins will instantly feel more festive and ready for the fall. These also make a great gift. Cheers to crafting with Missouri wine!